
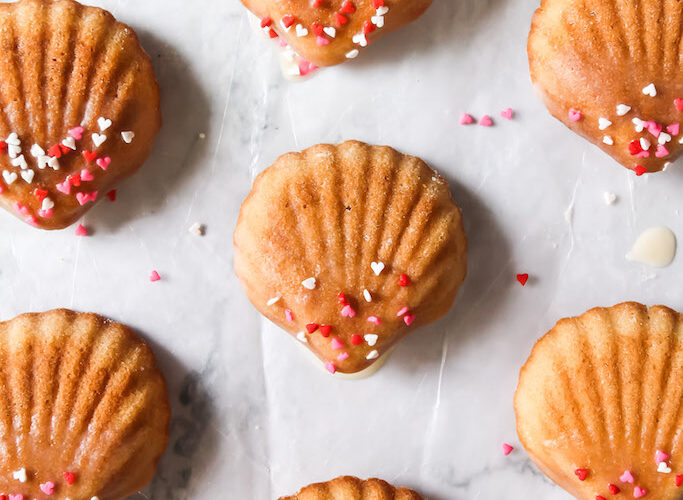
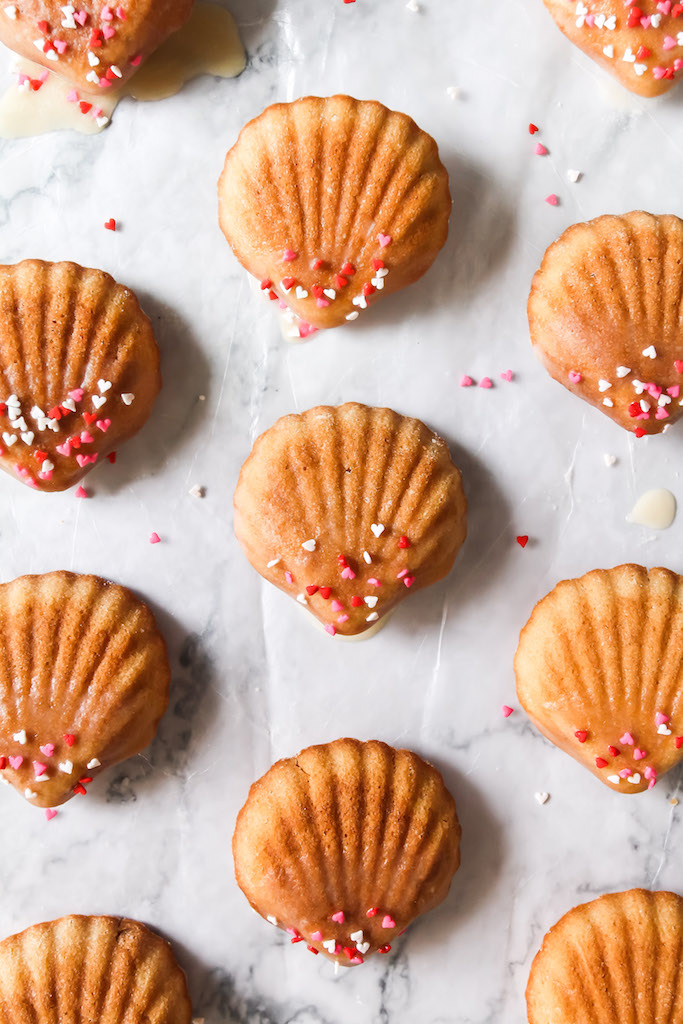
Pink Pomelo Madeleines + How to get the signature hump (bosse)
There’s something very charming about madeleines. Maybe it’s their petite size or the ever recognizable seashell shape. Many beginner bakers find them to be quite daunting when in fact, this couldn’t be farther from the truth. Madeleines are one of the easiest génoises you can make. Basically, the pan does all the work for you by giving it it’s signature form while the batter comes together in minutes. Added bonus that the pomelo adds some subtle tang to these Pink Pomelo Madeleines.
A Snapshot of Madeleine History
Madeleines were said to first make an appearance during the 1700s. When a young girl named Madeleine was tasked to make pastries for the Duke of Lorraine. Equipped with the only knowledge she had, she recreated a recipe taught to her by her grandmother. The little cakes were then served to the Duke who loved it so much he shared it with others in court. Eventually these little treats grew in popularity and were named under her namesake.
This story for some reason reminds me a lot of the food passed down to me by my grandmother. She used to write down all her recipes on tiny index cards and keep them in an engraved wooden box. To this day, the box still sits on my kitchen counter, with faded words and a few telltale kitchen splatters. A lot of the times we forget about these gifts and how they elicit so many memories of home. If you have some inherited recipes don’t be apprehensive to dig them out. You never know. Maybe they’ll be your new favorite.
How to get the Signature Hump
If you’ve had madeleines before, you might have noticed how the backside usually has a tiny cake bump. These bumps can range from little skyscrapers to mini hills. Either way many of the French would insist that the bump is a must.
To get the hump, make sure that your batter is cold and your oven is hot. This is simple enough to achieve by refrigerating your batter and/or your pan and checking that the oven is properly preheated. Once the cold pan hits the hot oven, the mixture of hot and cold acts like a spring creating that hump. Voila! Easypeasy baking science!
The recipe for these Pink Pomelo Madeleines calls for some baking powder to increase the lift. Many traditionalists would frown upon this but many others would recommend it. It all depends on the overarching recipe.
Just A Few Tips
- If you’re after the classic madeleine hump (bosse in French), I recommend you go through the chilling periods. If it doesn’t matter to you, then bake them right after the batter is made.
- I prefer to use a nonstick metal madeleine pan. The silicone ones work however it’s harder to achieve significant browning and the proper crisp exterior notable in madeleines.
- Spooning or piping the batter is the easiest and neatest way to fill the mold (I personally just use a spoon). Focus on filling them from the center and avoid spreading out the batter.
- I don’t know if I’m just old school but I use a mortar and pestle to squeeze out the pomelo juice. It’s super quick, easy and a breeze to strain through.
Looking for more fruit inspired recipes? Check out the rest of the fruity lineup!

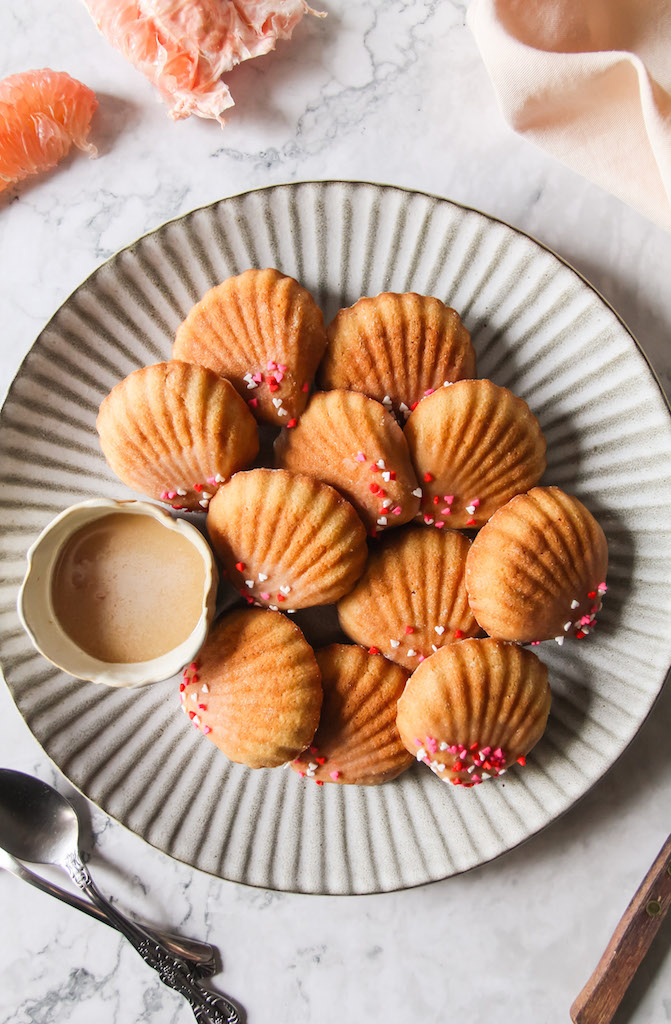
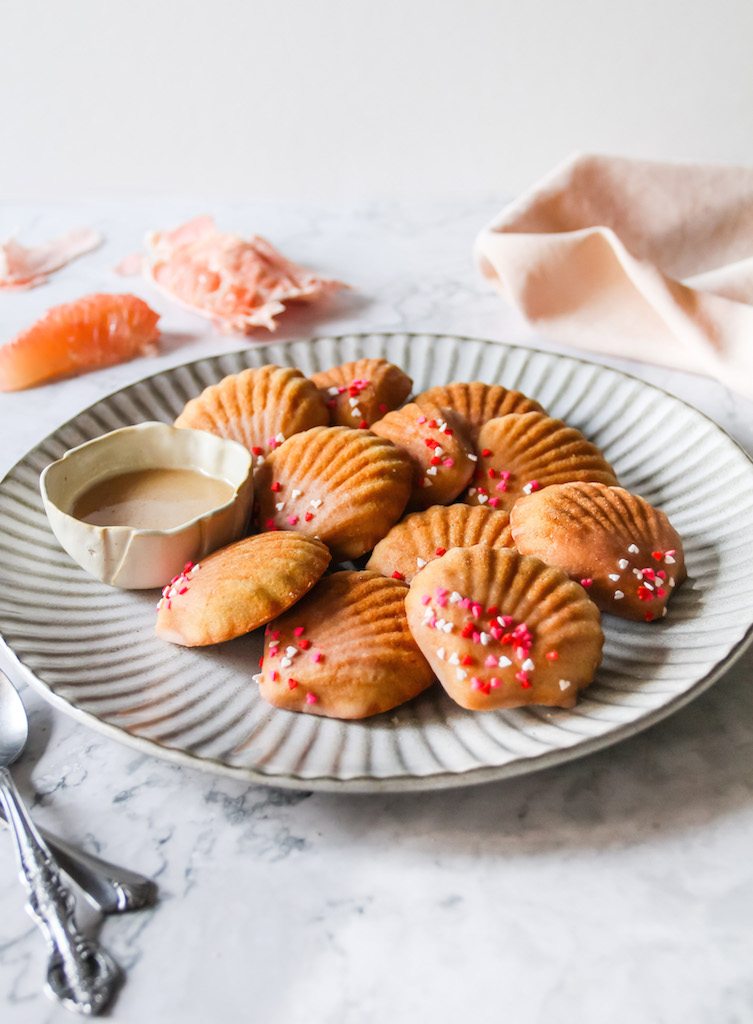
Pink Pomelo Madeleines
Ingredients
Madeleine Batter
- 50 g (¼ cup) brown sugar
- 90 mL (¼ cup + 2 tbsp) milk of choice ,room temperature
- 56 g (4 tbsp) melted butter ,plus extra for prepping the pan
- 1 tsp vanilla extract
- 3 tbsp fresh pomelo juice ,pulp and seeds strained
- 1 tbsp pomelo zest
- 125 g (1 cup) all purpose flour sifted, plus extra for prepping the pan
- 32 g (4 tbsp) cornstarch
- 1½ tsp baking powder
- ¼ tsp salt
- sprinkles for decorating
Pomelo Glaze
- 60 g (½ cup) confectionary sugar ,sifted
- 2 tbsp fresh pomelo juice ,extra if needed
- ½ tsp vanilla extract
Instructions
- In a small bowl, combine the milk with the pomelo juice and set aside for about 5 minutes (this makes the madeleines extra fluffy). Meanwhile combine the sugar, melted butter, vanilla and zest. Pour in the milk mixture, whisking until combined.
- Sift in the dry ingredients, making sure to avoid overmixing at this point. The batter should be fairly smooth but a few small errant lumps are alright. Cover the bowl with plastic wrap, making the plastic touch the surface of the batter. Chill in the fridge for at least 30 minutes or overnight for best results.
- Combine some softened/melted butter with a bit of flour to create a slightly runny paste. Using a pastry brush or clean hands, lightly brush the mixture onto the madeleine mold, coating all the nooks and crannies. Take your madeleine batter and fill each mold ¾ full (avoid flattening, spooning/piping works best). Once the mold is full, place the pan in the freezer for a good 7 minutes.
- Meanwhile, place a baking sheet in the oven and preheat to 350°F (180°C). When your oven is hot and ready, place the madeleine pan over the baking sheet and bake for 20-25 minutes or until the sides appear golden and the sponge lightly springs up when touched. Tap the pan on the counter at a slight angle then leave to cool for 5 minutes.
- Make pomelo glaze by combining all the ingredients in a small bowl, adding more juice if the glaze is too thick. Unmold the madeleines, dip in the pomelo glaze and add some sprinkles. Serve warm with a cup of tea or a mug of good coffee. Enjoy!
Notes

Some items you might need
Disclosure: As an Amazon Associate I earn from qualifying purchases meaning if you use a link to buy something, I may get a commission. All opinions are my own and I only recommend products that I would buy/use myself. Thank you so much!


[…] suggest pomelo since the tang is very subtle (if pomelo is what you have on hand, there are these madeleines […]