

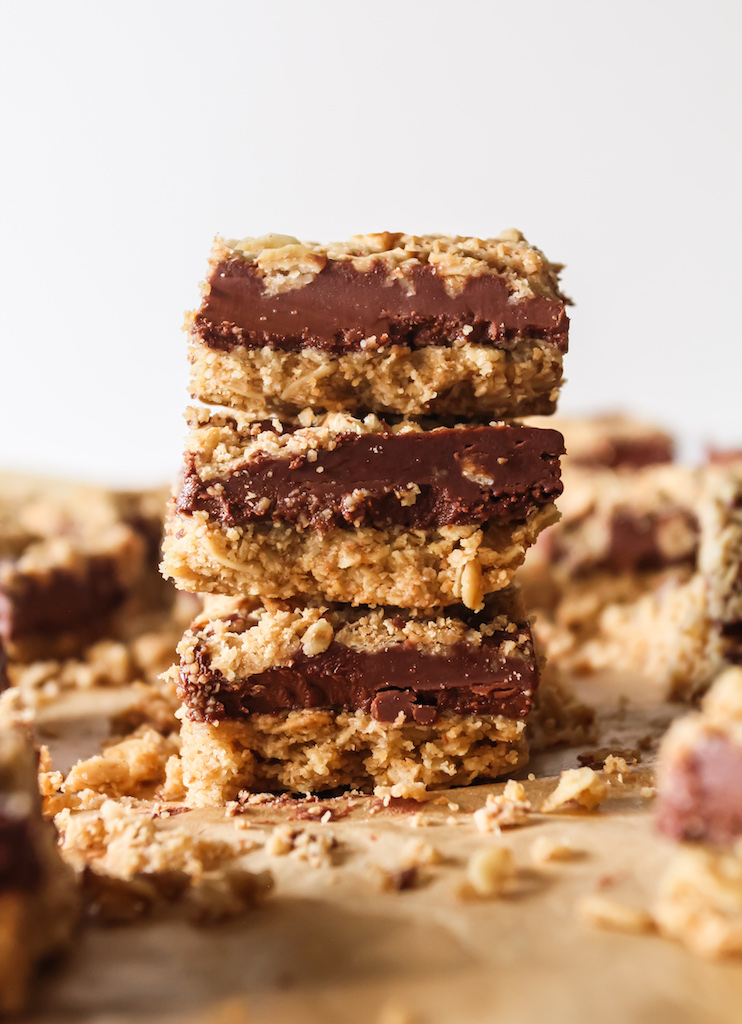
No Bake Chocolate Peanut Butter Revel Bars
Back again with one of my favorite food combos ever: chocolate and peanut butter. Even better that the filling comes in the form of a luscious velvety ganache. My sister has been craving for revel bars for the longest time. Mostly because we’ve been stuck in a constant rotation of the same snacks this quarantine. It’s reached the point where we’ve been eating practically the same thing everyday. Very unexciting. So here we are, shaking things up in the yummiest (somewhat healthiest) way we can think conceivable.
The first order of business was to make these bars as easy and as carefree as possible. We’ve been extra lazy recently (ergo our boring snack situation) and needed something quick but amazingly good. The base is a buttery oatmeal cookie dough crust which reminds me of nutty shortbread. The perfect canvas for this gorgeous filling. I melted down some good quality chocolate until smooth and added copious amounts of peanut butter for a creamy lick-your-fingers ganache. You can definitely add cream for more richness but I don’t bother since the filling is already good as is.
Why Should I Make My Own Revel Bars?
There are a lot of bakeries around that sell great revel bars and buying them is naturally more convenient. Heck! I do it all the time at the expense of my sad wallet but happy heart. However, there are perks to making your own. First of all, you know exactly what’s going in to your bars. I know the ingredients, how healthy or how deadly I want them to be and all these other little details that matter (at least to me). I get pretty bummed buying a revel bar and finding that it doesn’t have enough chocolate love in it or eating a crust that’s more cardboard than it is butter. Honestly, skimping on the good stuff is where everything starts to down spiral. Which brings me back to why making your own is the best. After all, there’s a power in knowing that you can make what you crave.
On the flip side, sometimes I’m looking for something more on the healthy side. An element that not all store bought bars can deliver. In cases like these, making from scratch is the best route to go. Frankly, these Chocolate Peanut Butter Revel Bars take less time to prepare than ordering from a bakery and waiting for it to arrive (waiting is the hardest!). Plus they are no bake which adds to the whole beauty of it. Either option you choose: store bought or homemade, it’s up to you. Nevertheless, I’m leaving a mini list below of my go-to store bought revel bars because good bakeries can be hard to come by and obviously deserve a shoutout.
Luciana’s Maison Bakery
The Noodle Bakes
Scout’s Honor
Purple Oven
Just A Few Tips
- You can make these bars as chunky as you want by proportionally increasing the amount of rolled oats and decreasing the oat flour. Just make sure not to decrease more than half of the oat flour or else the crust won’t come together.
- The quality of your chocolate will make or break these bars so use the best chocolate you can afford.
- You can melt the chocolate using the double broiler method or the microwave. I prefer to do the double broiler since it’s a more even way of melting. Start with placing a heavy bottomed pot of water on low-medium heat and place a bowl over the pot, making sure to avoid touching the water with the bottom of the bowl. Heat the chocolate until melted. If using the microwave, heat the chocolate on high in 30 second increments.

Chocolate Peanut Butter Oat Bars
Ingredients
Oat Shortbread Crust
- 162 g (1¾ cup) oat flour
- 103 g (1 cup + 2 tbsp) rolled oats
- 105 mL (½ cup) olive oil*
- 28 g (2 tbsp) maple syrup
- 1-2 tbsp plant based milk
- ½ tsp ground cinnamon
- ¼ tsp salt
Chocolate Peanut Butter Ganache
- 150 g (scant 1 cup) dark chocolate* ,chopped
- 110 g (¼ cup + 3 tbsp) natural peanut butter ,room temperature
Instructions
- Line an 8×8" pan with parchment paper and set aside. Place all the crust ingredients in a large bowl and mix thoroughly. Take a bit of the dough and press it together in your palm. If it holds together well then it's perfect. If it's a bit crumbly add some more maple syrup or milk, a tablespoon at a time, depending if you want a sweeter crust or only want to add more moisture.
- Tightly pack ⅔ of the crust mixture into the lined pan, evenly spreading it out to the corners. Place the pan in the fridge or freezer to chill. Setting ⅓ of the crust aside.
- Meanwhile, make the ganache. Using the double broiler method, place a pot of water over low heat and place a bowl over the pot. Make sure that the bowl is not touching the hot water. Place the chopped chocolate and peanut butter into the bowl and melt until smooth.*
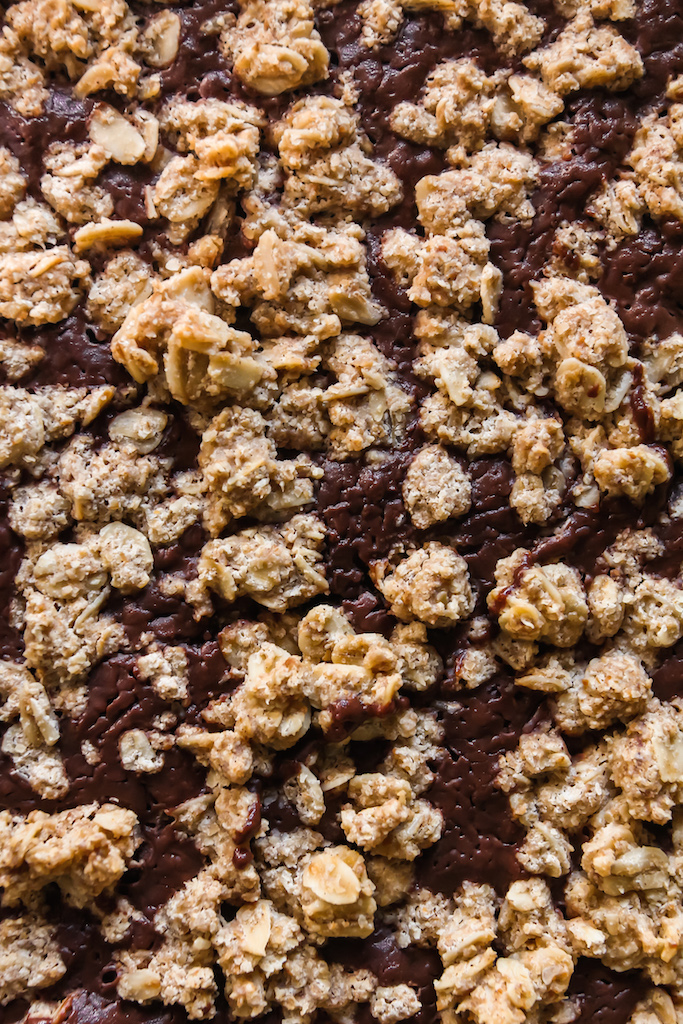
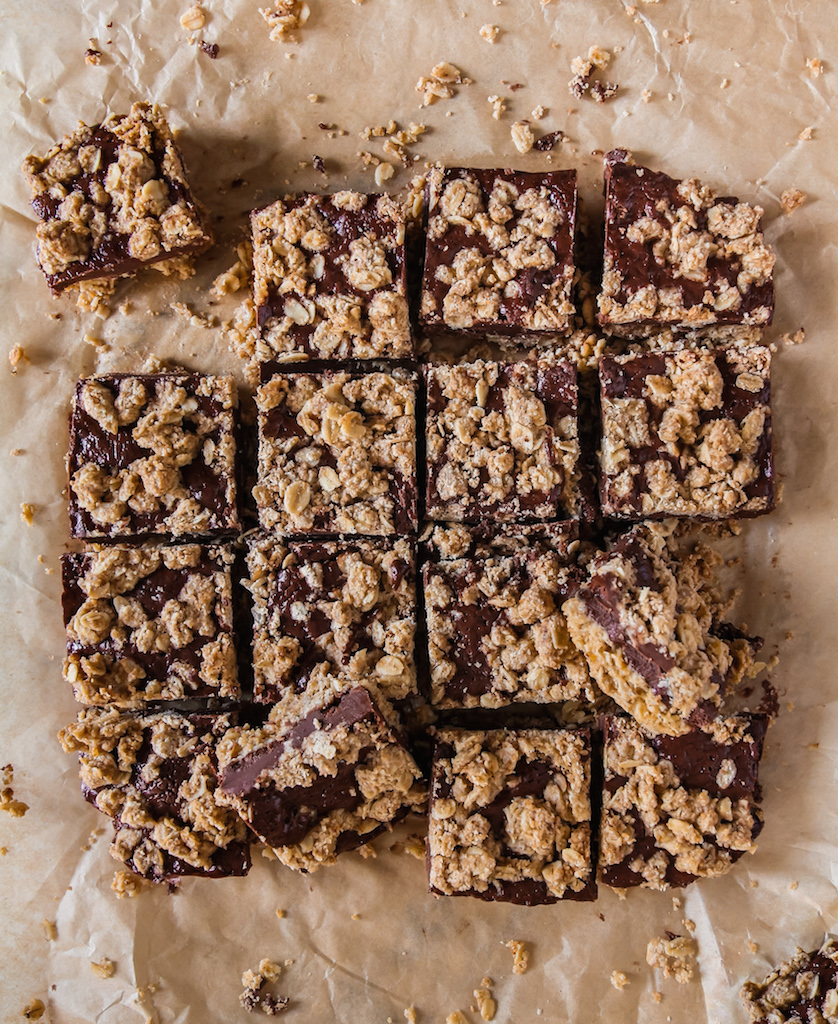
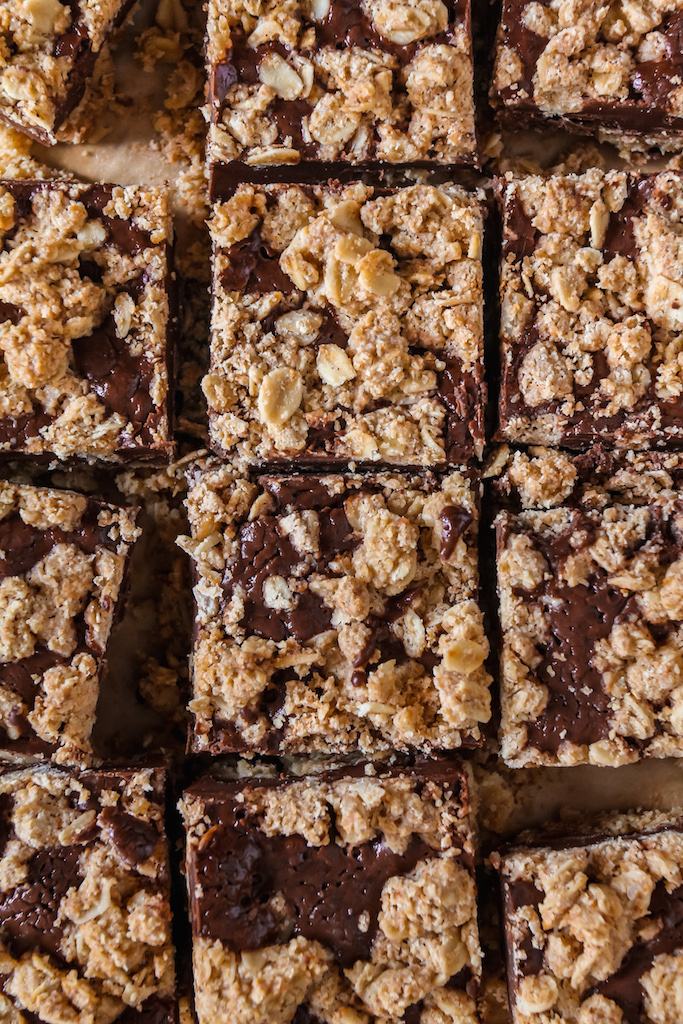
- Pour the chocolate peanut butter ganache over the chilled crust and sprinkle the remaining crust mixture over the glossy surface. Place the bars in the fridge or freezer for at least 15-30 minutes.* Cut the bars into 8 large bars or 16 squares. Eat and enjoy!


[…] Ok! I’m sort of kidding. The highlight of my week was this insane Big Crumb Apple Cake! When I say big I mean BIG and lavish. Everyone knows the best part is always the buttery crumble so why skimp on something so good. I admit it will seem like you can’t possibly fit all this crumble into this petite cake but you will, you shall and you’ll thank me for it later. However, if you do want to tone it down a bit, you can always cut the recipe by a quarter or use the leftover crumble for topping over banana muffins or other delicious applications. […]