Matcha Grinch Cakes & Bake Flops
I’ve been feeling under the weather ever since me and my brother finished the second vaccine dose. Honestly, I can’t remember the last time I’ve had cold sweats. That strange feeling of heat and chill that makes your hair stand on end. To make matters more interesting, we were down to the last 3 anti-fever pills which me and my brother equally halved to great effect.
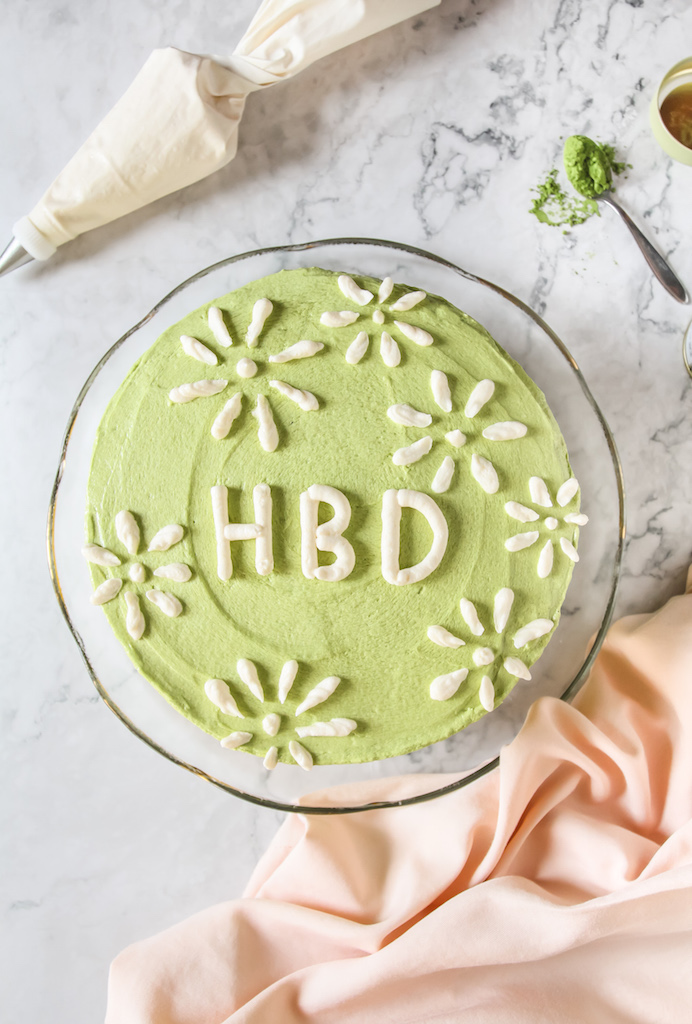
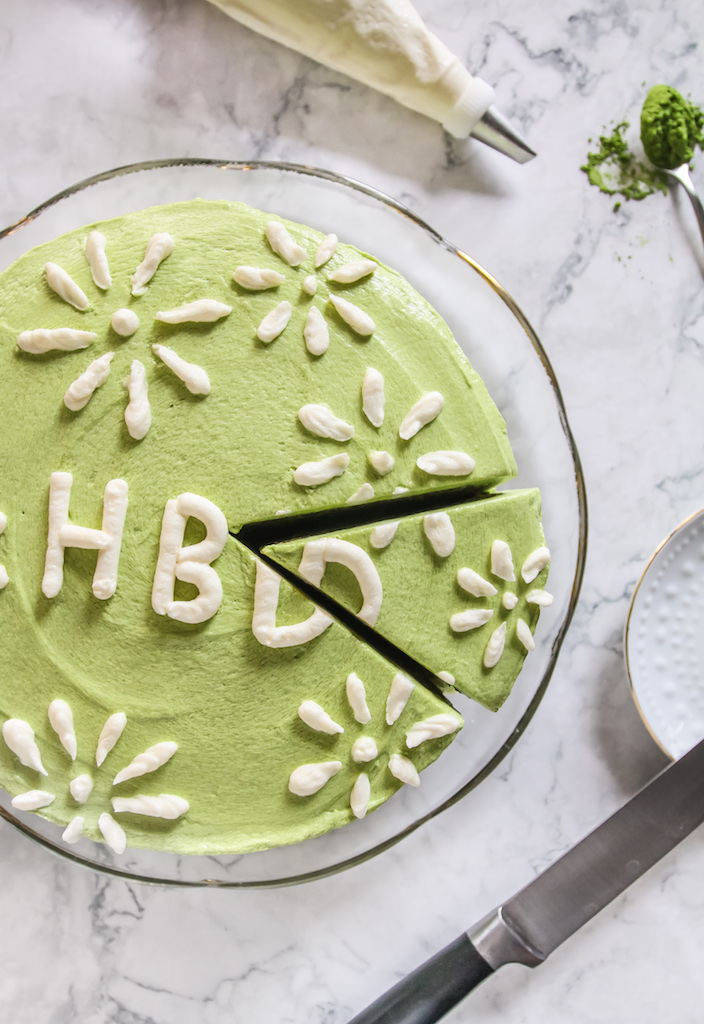
Weeks before this, I made an insane grinch looking cake for my sister’s birthday and oh was it a disaster. I don’t know when things started going wrong but I would say it was the missing frosting dam. THE all important frosting dam. But it was too late, the cake was filled and frosted (it even had all the piping) by the time I realized what was wanting. Looking back at it now, I can’t help but laugh. Right after I took these photos the cake majestically split in half which added to the allure of my shaky piping. Despite this, I enjoyed the whole baking process. It was a lovely detour from the otherwise picture perfect cakes I see all the time in social media.
I’m not sure if it’s just me but there is an unsaid pressure in the food blog sphere to put out what’s flawless. Who can blame us? There are so many amazing bakers and food photographers out there. It’s inevitable to feel the need to “step up” or always be “on”. Sad to say that the spirit of baking gets lost in this endless stream of images, likes and shares, slowly converted into a source of validation.
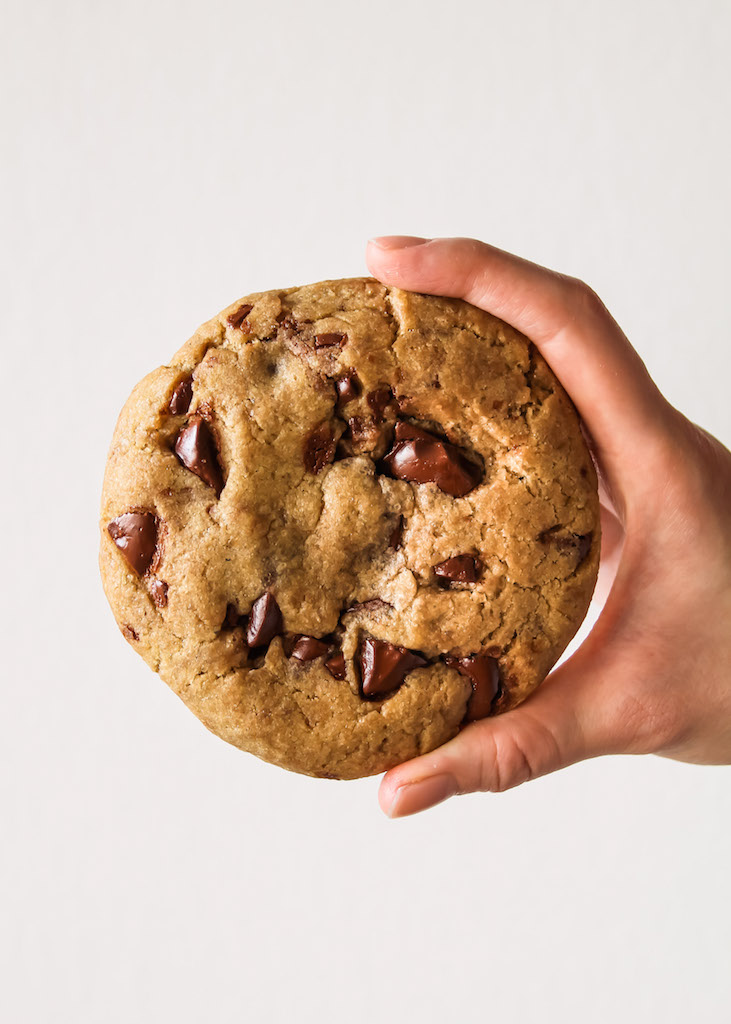
For this same reason, I’ve witnessed many bloggers call a social media break. An online vacation so you can step back and bake solely for the reason of baking and eating. Not worrying about developing THE BEST recipe or capturing all the video coverage that you need. (trust me a cookie is much better eaten straight from the oven compared to when it’s been mutilated in a shoot.) So in a way this topsy turvy cake was a blessing. After all, I fell in love with baking when it was at its most rustic, at the hands of my lola. If you’re one of those people who think you suck at baking, you don’t. Bake fails happen all the time even to the most adept of bakers. Just keep practicing and enjoying the crumbs along the way.
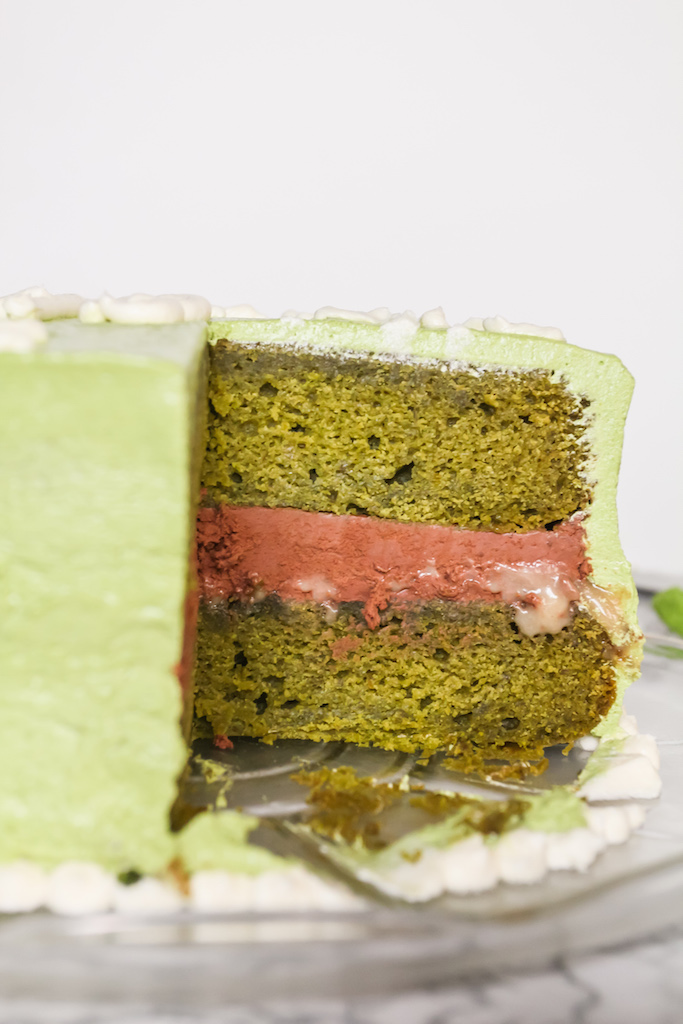
The cake split in half right after i took this shot!
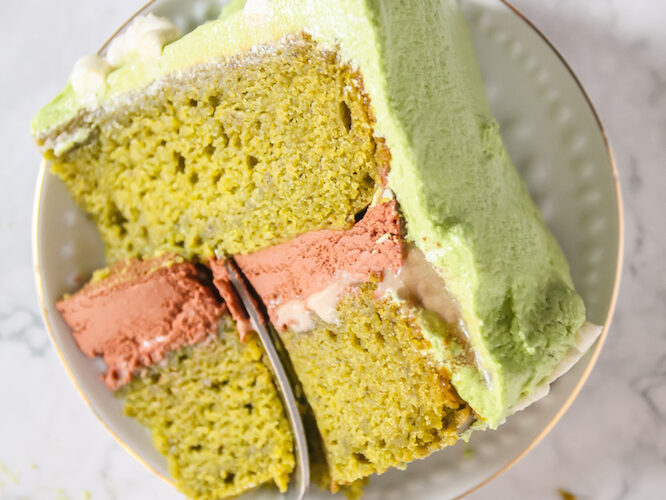
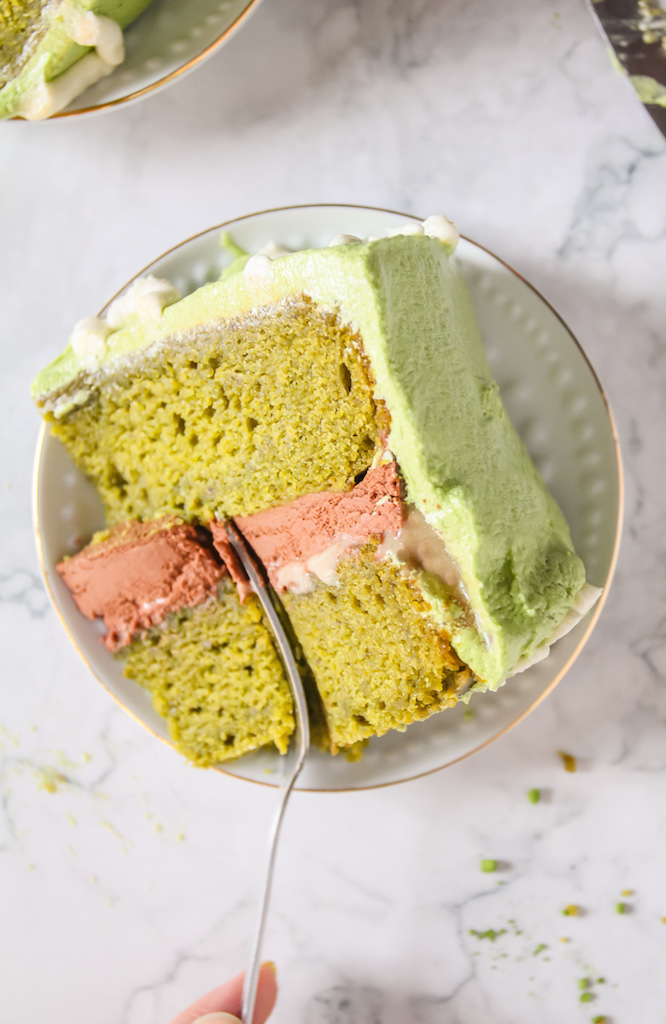
Anyhow, back to this matcha cake bake flop. The idea was to layer a moist matcha cake with whipped chocolate ganache and a cashew praline then finish everything off with a matcha buttercream (I wanted a light green cake). Each component turned out exactly how I wanted it to but I did come across a caveat. It turns out combining all of these components didn’t work. It resulted in an overwhelming passion of flavors that the delicate taste of matcha was lost. If I were to make this cake again I would choose either a whipped ganache or the matcha buttercream but would not combine the two.
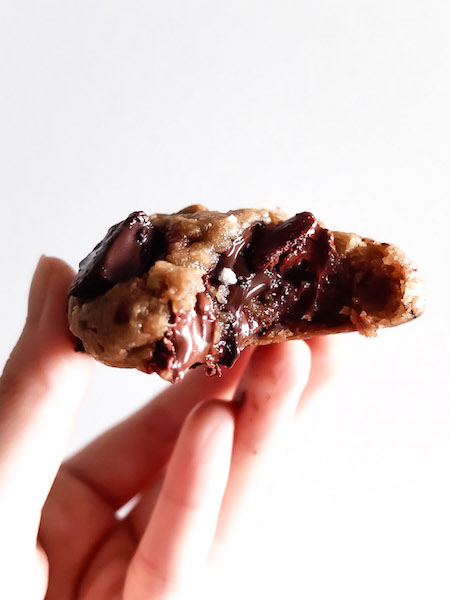
Now, the question is: is it still worth making this cake? Absolutely! My sister loved this matcha cake with its vibrant green color and moist fluffy crumb. Plus the individual components can easily be mixed and matched with any other cake. For example, the whipped chocolate ganache would be amazing on top of these brownies sans the marshmallow fluff. As for the matcha buttercream, it would be the perfect pair to these cupcakes. Just don’t go crazy and mix all these flavors like I did.
How to make the Matcha Daisy Grinch Cake
What a way to name this cake but it is what it is. I started with the cashew praline, toasting the nuts in a deep amber caramel. Then grinding them to create a smooth praline butter. This makes a bit more than what you need for the purpose of sneaking it into other tasty goods. You can also make this ahead of time and keep it in a sealed jar in the fridge.
Moving on to the cake which couldn’t be easier. Just pour your wet ingredients to the dry and mix until the huge lumps of flour are gone. (pssst gluten free option below). Pour in to two generously buttered and floured cake pans and that’s it. Once baked, leave to cool for a bit and turn them out onto a wire rack. The best part is when a little dome forms, which means I get to level off the cake and get a well deserved snack.
If whipped ganache is your choice of frosting: heat some luscious coconut cream (not milk and not light coconut milk). Please use the good stuff. Once boiling, turn off the heat and add in the chopped dark chocolate to create a ganache. This is where the magic happens. As the ganache cools it will naturally firm up and make it perfect for whipping into a glossy chocolate filling.
If matcha buttercream is your choice of frosting: cream the butter and confectioners sugar until light and fluffy then add in the vanilla. If planning to decorate with different colors of frosting, now is the time to separate about ⅓ of the batch to use for decoration later. To the remaining ⅔ frosting, add in the matcha and beat until smooth and creamy. For a darker green color, you can add more matcha.
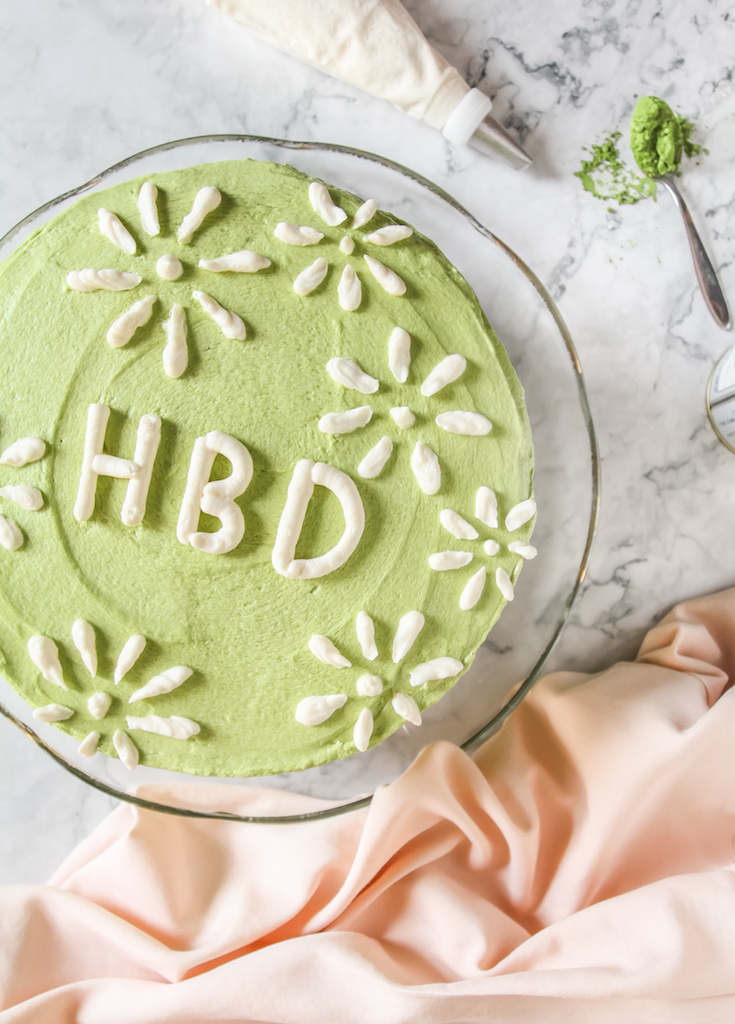
Assembly time: place the first cake layer top-side down, then with a piping bag, create a frosting dam for the praline. Dollop as much praline as you like at the center of this circle. I made mine a thin layer since I only wanted it as an accent to the cake. Afterwards, place the second cake layer bottom-side up on top of the filling and give it a slight squidge to make sure it really adheres to the bottom layers. Dress your cake up with the rest of the frosting and get creative. If you chose the whipped chocolate ganache, simple swirls are always beautiful. If using the matcha buttercream, you can do a daisy design like a I did in these photos (tips below).
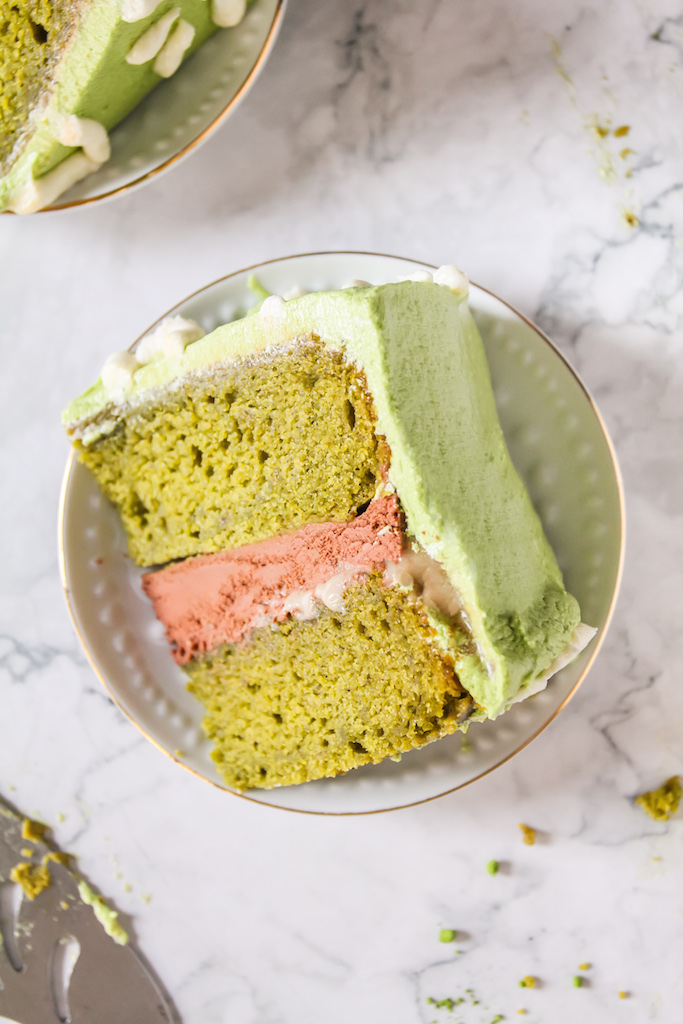
My cashew praline oozing out of the cake…oh dear
Just A Few Tips
- Use room temperature ingredients when making this cake. As a matter of fact, consider this a rule of thumb when baking anything.
- Change things up by adding some extra salt to the cashew praline. This transforms it to something very similar to salted caramel but with nutty notes. To start off, add sea salt a pinch at a time (1/8 tsp) and wait for the salt to properly dissolve before tasting and adding more.
- Use good quality matcha powder if you want the matcha flavor to translate well and the green color to pop. I used the baking grade variety from Uji Matcha which is a gorgeous green. Steer clear from any matcha that looks more gray than it is green.
- When making the cashew praline, I recommend having a candy thermometer on hand to get the caramel just right. It’s not required but it is definitely useful.
- Another tip for the praline: aim to use a white/metal/light colored pan so you can see the color of the caramel. I got the best results with a wide stainless steel pan where the nuts have more surface area contact with the heat of the pan. Using a deep/small pot yields should definitely be avoided.
- Use a gluten free flour blend to make this cake gluten friendly. I used Bob’s Red Mill 1:1 Baking Flour with yummy results.
- For the flower piping pattern, I used a Wilton 104 for the petals and a 5 round tip for the center. Liz Shim makes a really beautiful daisy cake.
Let me know if you try making this Matcha Grinch Cake. I can’t wait to see you do so much better than me! As always, happy baking!
Matcha Cashew Praline Cake with Whipped Chocolate Ganache
Ingredients
- 500 g (4 cups) all purpose flour ,sifted
- 4 tsp baking powder ,sifted
- 1 tsp baking soda ,sifted
- 1 tsp salt
- 20 g (8 tsp) matcha powder ,sifted
- 220 g (1 cup) mashed banana
- 140 mL (⅔ cup) olive oil
- 220 g (⅔ cup) pure maple syrup
- 2 tsp vanilla extract
- 84 g (¼ cup + 2 tbsp) coconut sugar or brown/white sugar
- 300 mL (1¼ cup) plant based milk ,room temp
- 3 tbsp lemon juice ,about 1 med. sized lemon
- zest of 1 lemon
- 1 tsp vegan butter ,for greasing the cake pans
Cashew Praline
- 225 g raw cashews ,I used split cashews
- 150 g white sugar
- 50 g water
- ¾ tsp vanilla extract
- ½ tsp sea salt
Option 1: Whipped Dark Chocolate Ganache
- 16 oz dark chocolate ,chopped
- 320 g coconut cream*
Option 2: Matcha Buttercream
- 225 g (1 cup) vegan butter ,softened
- 1 tsp vanilla extract
- 480 g (4 cups) confectionary sugar ,sifted
- 3-5 tsp matcha powder
- ½ tsp salt
Instructions
Cashew Praline
- In a heavy bottomed pan or wide pot, heat the water and sugar until bubbly and an amber caramel begins to form. Avoid stirring during this process. Instead swirl the pan or wash down the edges with a pastry brush dipped in water. For those with a thermometer, it should reach 245°F (118°C).
- Once the caramel reaches the correct temperature or is an amber gold, immediately add in the cashews, stirring frequently. The sugar will begin to crystallize and form a white coating around the nuts. Make sure to keep your eye on the nuts and continuously stir until the sugar eventually melts and returns to a gold caramel coating around the nuts. Transfer to a lined baking sheet, lay out evenly and leave to cool.
- Once cool, place the nuts in a food processor to create a smooth (or chunky) praline butter. Use immediately or store in an airtight glass container.
Matcha Cake
- Preheat the oven to 350°F (180°C) and line two 8-inch cake pans with parchment paper, grease with butter and lightly dust with flour. Set aside.
- In a big measuring cup, pour in the milk and lemon and leave to curdle for around 5 minutes. This will be your vegan buttermilk.
- Meanwhile, in a large bowl, combine all the dry ingredients and give it a quick whisk. In a separate bowl, combine the rest of the cake ingredients. Pour the wet mixture to the dry, stirring until there are no large clumps of flour left. Evenly divide the batter among the cake pans and bake for 25-30 minutes or until a toothpick inserted at the center comes out clean. Leave the cakes to cool for 5 minutes, then carefully unmold and turn out to a wire rack to cool completely*
Whipped Dark Chocolate Ganache
- Meanwhile make the ganache. In a heavy bottomed pot placed on medium heat, warm the coconut cream until it just reaches a boil. Remove from the stove and pour in the chopped chocolate, making sure to cover most of the chocolate in the hot cream and leaving it alone to melt. After 5-10 minutes, stir the ganache until smooth and glossy, setting it aside to cool and firm up.
- Once the ganache has cooled and thickened, pour into a bowl and whip until light and fluffy. Use immediately to decorate your cake.
Matcha Buttercream
- In the bowl of a stand mixer, fitted with the paddle attachment, cream the butter and sugar until light and fluffy. Add in the salt and vanilla and beat until smooth. If using the frosting for decorating/piping, separate ⅓ of the buttercream to use or to tint with different colors later. Otherwise add in the matcha powder starting with 2 teaspoons and adding more depending on how green or how much of the tea you would like to taste.
Assembly
- Place the first cake layer, top-side down, and create a frosting dam* using a piping bag to hold the filling in. Dollop a generous amount of the praline at the center and evenly spread to the edges of the frosting barrier. The filling should be slightly lower than the frosting to avoid it oozing out later on.
- Place the second layer, bottom-side up, on top of the cake and press it down lightly so it adheres to the bottom layers. Dollop the rest of the frosting on the top of the cake and use an offset spatula to spread and coax it to the sides of the cake. Smoothing and swirling as you like.
- Once the cake is all frosted, pipe on any decorations with the leftover frosting. Serve and enjoy!