
Master Pizza Dough + Garlicky Pesto Pizza
I’m so excited that I can finally post this! So many of us love pizza but we rarely attempt to make it at home (even when it’s so good and it means ultimate reign over pizza toppings). It’s the dough they say. That seemingly hard-to-reach artisanal chewy crisp crust that is the foundation of all pizza dreams. But what if I told you that all it took was 5 ingredients. Five! No special contraptions, no burning of wooden logs or constructing of brick ovens. If people could make pizza in the 1800’s then you can too.
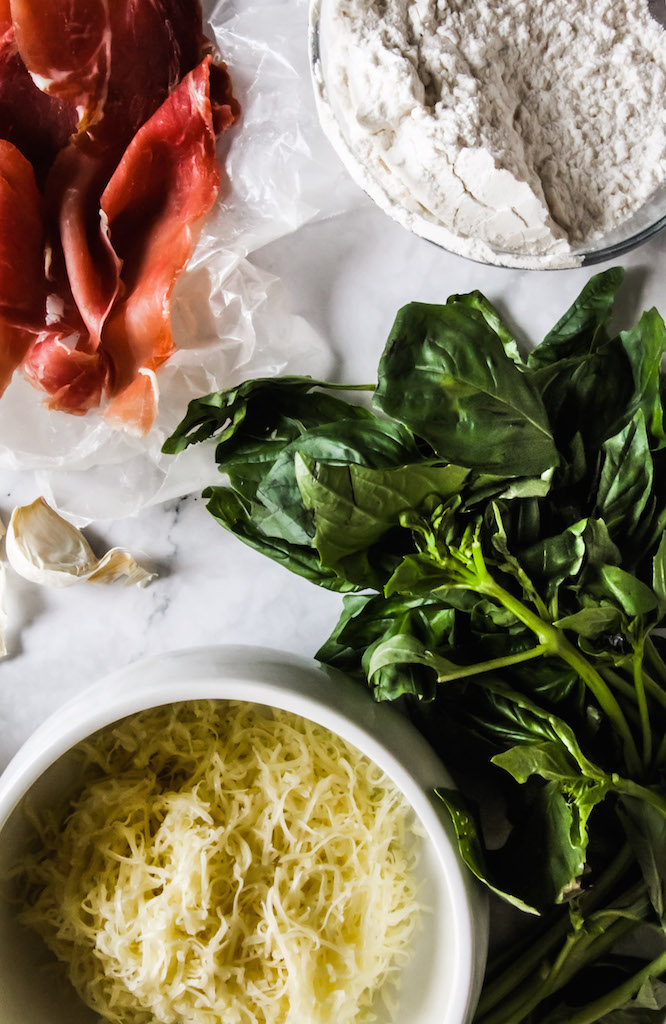
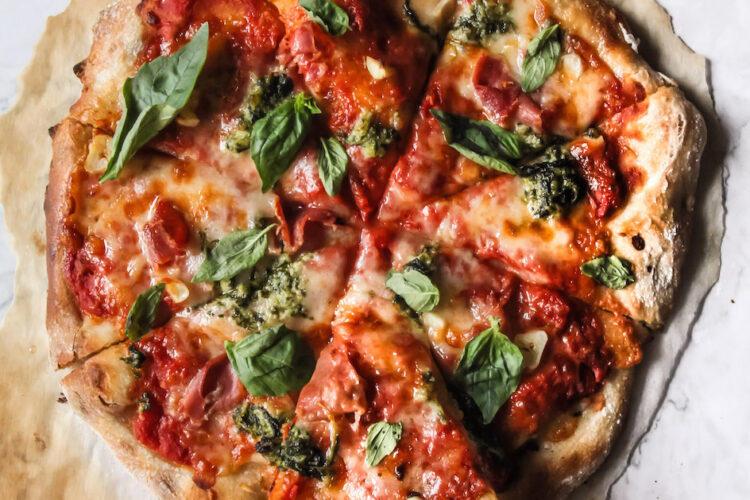
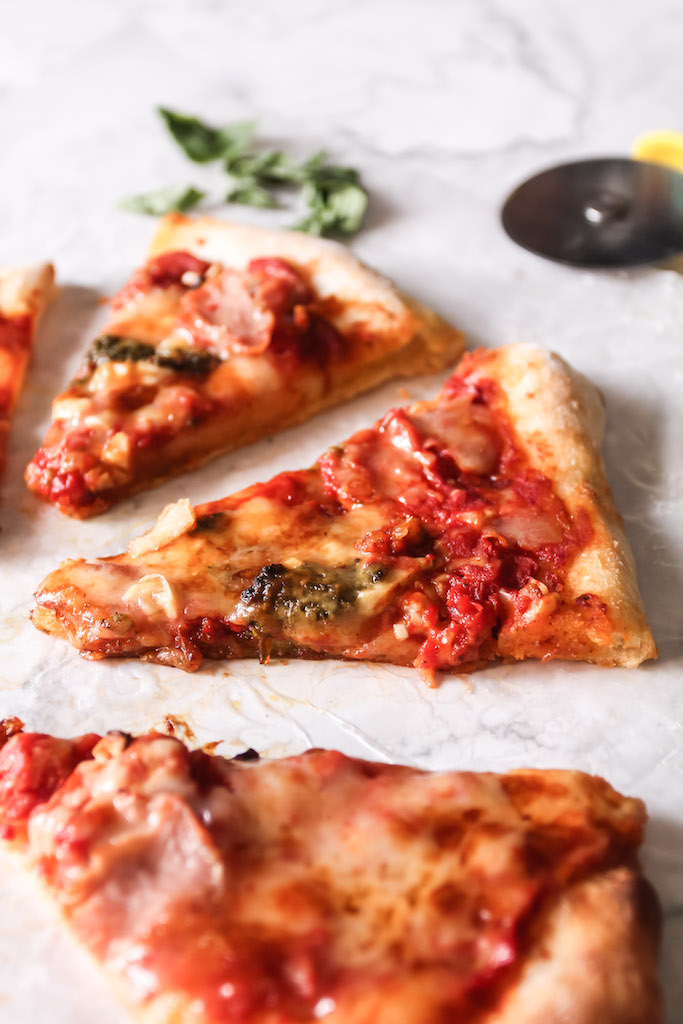
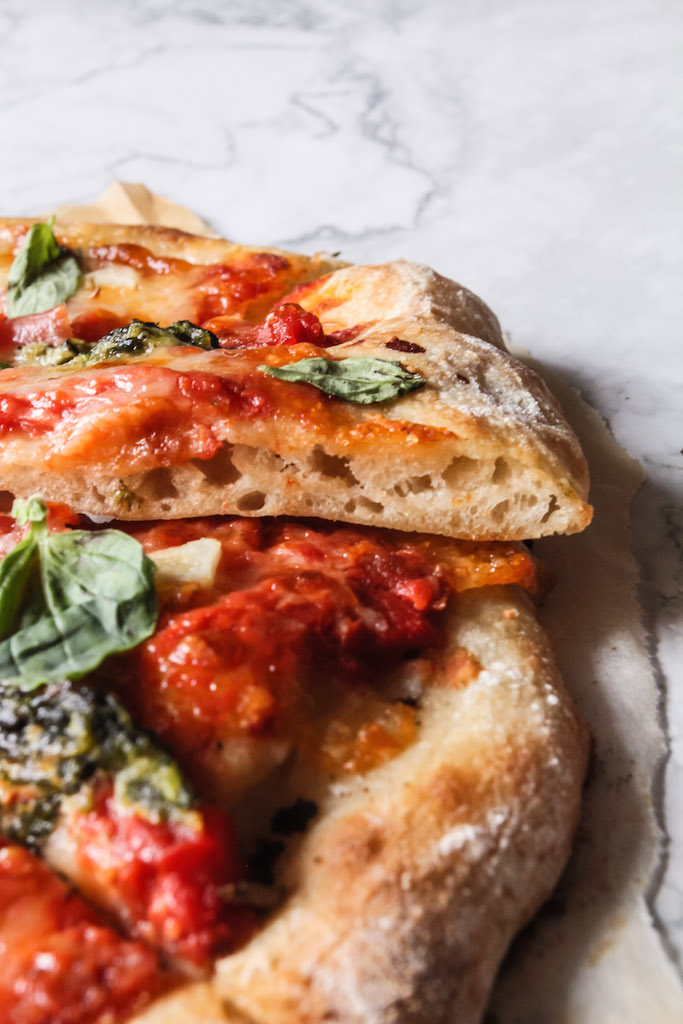
My goal was to create an amazing pizza crust that rivalled what you could get from your favorite restaurant yet still easy and accessible enough for anyone to make at home even if you lived in a tiny studio apartment. So you won’t find pizza stones or peels here (though they do come in useful if you plan on being a serious pizza maker). This is a Neapolitan style crust or Naples style so it’s nice to keep the toppings simple to really make all the flavors shine. I would like to say I stuck to train of thought but I ended up loading on the toppings with a medley of ripe tomatoes and gooey stringy mozzarella and cheddar. Some parma ham by request from the boys. Then, for good measure, dollops of pesto and roasted garlic. We downed everything in seconds.

Just A Few Tips
- I like using bread flour for this dough as it creates a chewier texture but you can easily use all purpose flour with great results (results in a softer crust). If you can, use Tipo 00 flour which is an Italian flour best used for pizza making.
- You can make the pizza dough ahead of time and leave it to rest in the fridge for 1-3 days. I usually do an overnight rise but 3 days would be the best to develop a deeper flavor.
- Taking a cue from Deb, draining the crushed tomatoes prevents an overly soggy crust. Just place it over a strainer and reserve the tomato juice for some bloody mary’s or some tomato soup.
- I tried my best to explain how to shape pizza but knowing that a visual guide always helps, check here on how to shape a boule and here for how to stretch a pizza. It’s ok if your pizza dough is not perfect (rustic is a great look) or if it tears, just repatch it with some dough and you’re good to go.
- I usually double the recipe to make 4 pizzas which fills up five hungry people with a bit of leftover for some snacking the next day. If you do this make sure you double the amount of yeast as well.
Remember that practice makes perfect and not everybody gets it right the first time (I certainly didn’t). Just keep practicing and you’ll have your perfect pizza down to a tee.
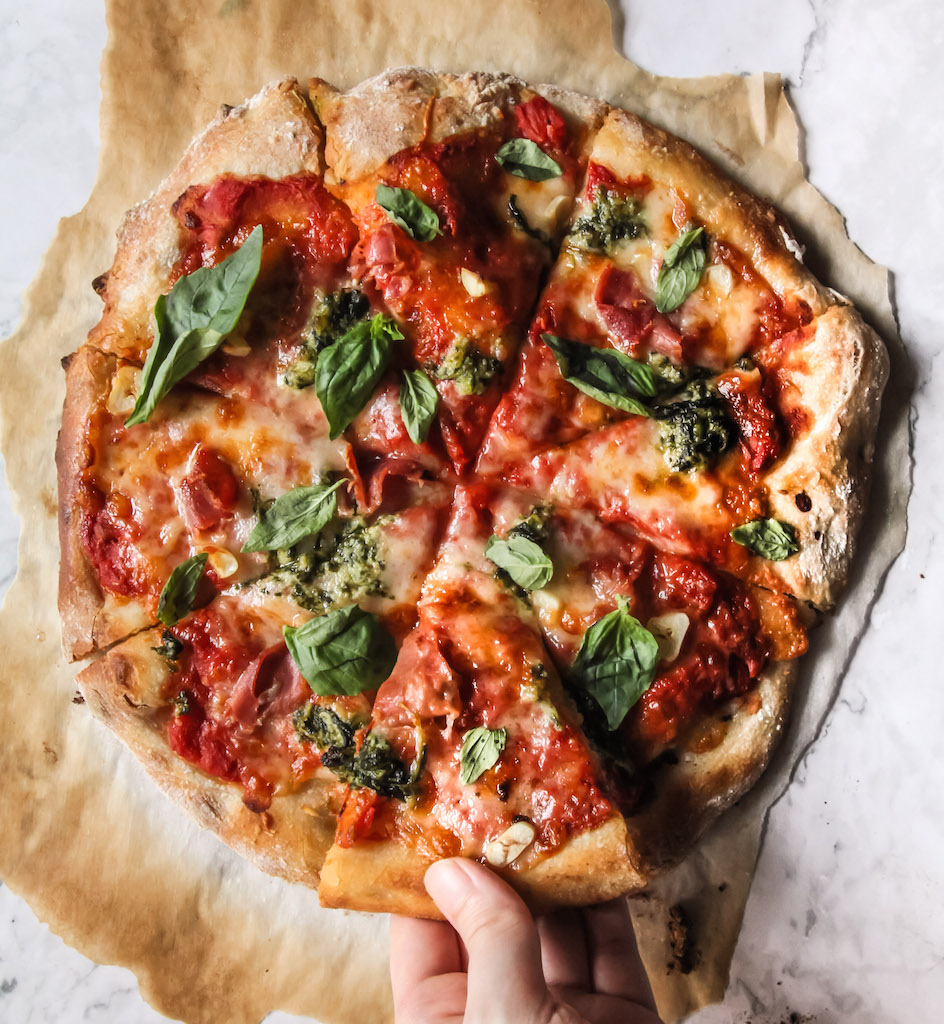
Master Pizza Dough + Garlicky Pesto Pizza with Parma Ham
Ingredients
Master Pizza Dough
- 375 g (3 cups) tipo 00 flour or bread flour
- 254 mL (1 cup + 1 tbsp) water lukewarm
- 11 g (1½ tsp) salt
- ¼ tsp instant yeast
- 10 g (¾ tbsp) olive oil
Toppings
- 400 g (1 can) crushed tomatoes drained
- ½ tbsp maple syrup or agave
- pinch of salt
- 100 g mozzarella finely grated
- 100 g sharp cheddar finely grated
- parma ham thinly sliced
- 2 tbsp (3 cloves) garlic chopped
- 3 tbsp homemade or store-bought pesto
- basil leaves optional but always welcome
Instructions
Master Pizza Dough
- Place the flour, salt and yeast in a large bowl and give it a quick stir. Pour in the lukewarm water and olive oil, mixing until you get a shaggy dough. Turn the dough out to a lightly floured surface and knead for about 8 minutes or until you achieve a smooth pliable dough. Alternatively, you can do all of this in a mixer with the hook attachment.
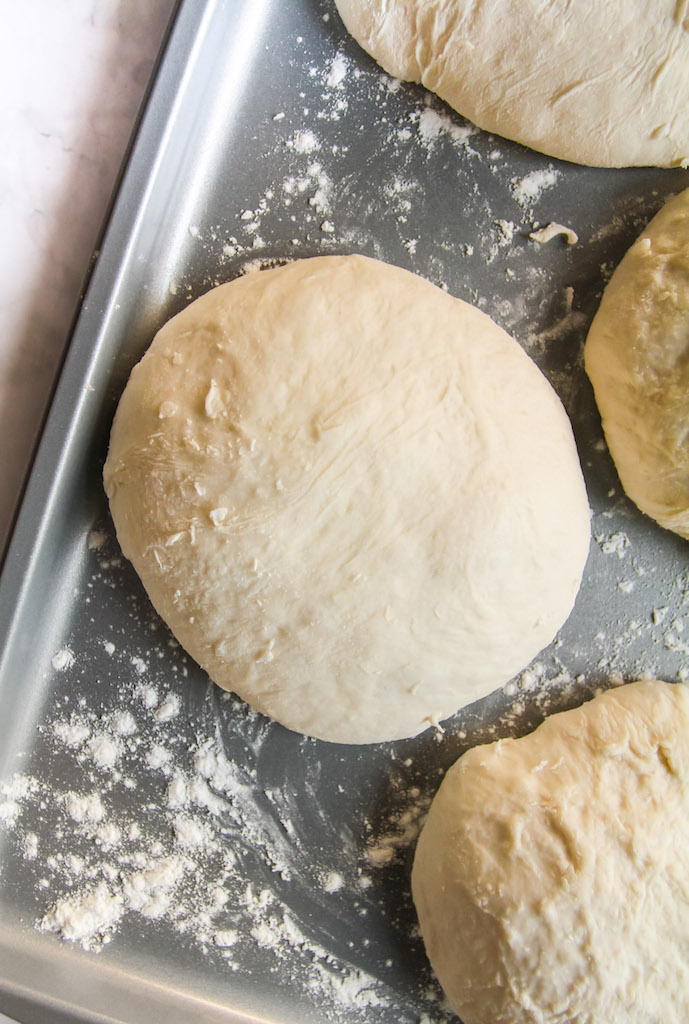
- Divide the dough equally into two (317g/ball) and shape into a boule by pulling one end under and repeating with all the edges to form a smooth taut ball (see tips above for shaping). Place boule on a floured sheet or container and drizzle some olive oil over each ball to prevent it from drying out. Cover with a kitchen towel and let rise for about 1½ hours or until double in size. Use immediately or for better flavor, place in the fridge for 2-3 days.
Sauce and Toppings
- Preheat oven to 500°F (260°C) or its highest setting. Place your baking sheet inside to heat up.
- Combine the drained crushed tomatoes, maple syrup and salt in a bowl. Taste and adjust the seasonings.
- If using refrigerated dough, remove from the fridge 2 hours before using to allow it to come to room temperature. Lightly flour your work surface and place the dough over your knuckles, rotating it, allowing gravity to do most of the stretching. If the dough resists stretching wait for 30 seconds and start handling the dough again. You should get an 8"-9" pizza round.
- Transfer the shaped pizza round to the hot baking sheet (being careful not to burn yourself) and place pan on the highest rack of your oven to half cook the crust. Once the crust starts to brown. remove and place your sauce and toppings. Return to the oven to fully bake, about 6-7 minutes. Repeat process with the other dough ball. Slice and serve while hot. Enjoy!
Notes

Some items you might need
Disclosure: As an Amazon Associate I earn from qualifying purchases meaning if you use a link to buy something, I may get a commission. All opinions are my own and I only recommend products that I would buy/use myself. Thank you so much!


[…] just worked out, Car) but this is what my body craves. By no means will I deprive it from yummy Italian carby goodness. As the saying goes, “everything in moderation” and even the fittest people I know […]